Spring Cloud 集成 SPL 实现微服务
Spring Cloud 是一款优秀的微服务开发框架,基于 Spring Cloud 的可以快速搭建微服务;esProc SPL(以下简称 SPL)是一款优秀的轻量级计算引擎,基于 SPL 可以很方便实施复杂数据处理。二者结合可以很好地满足微服务场景下的数据处理需要。本文将介绍如何在 Spring Cloud 中集成 SPL 实现微服务数据处理。
Spring Cloud 环境准备
Spring Cloud 可以从官网下载安装,也可以通过 IDE 下载插件进行安装,具体请参考公开资料这里不再赘述。Spring Cloud 组件众多,其中 Eureka 主要用于服务治理,服务注册、服务发现等,SPL 与微服务结合时主要使用 Eureka 进行服务发布,而其他配置、安全、容错等与数据处理关系不大的组件这里将不会提及。
搭建 Spring Cloud 环境还需要安装配置 Maven(事半功倍),这里同样不做过多阐述,请读者自行配置。
本文环境搭建使用 IntelliJ IDEA,其他开发工具操作步骤可能略有不同,请读者注意。
建立注册中心
新建 Maven 项目
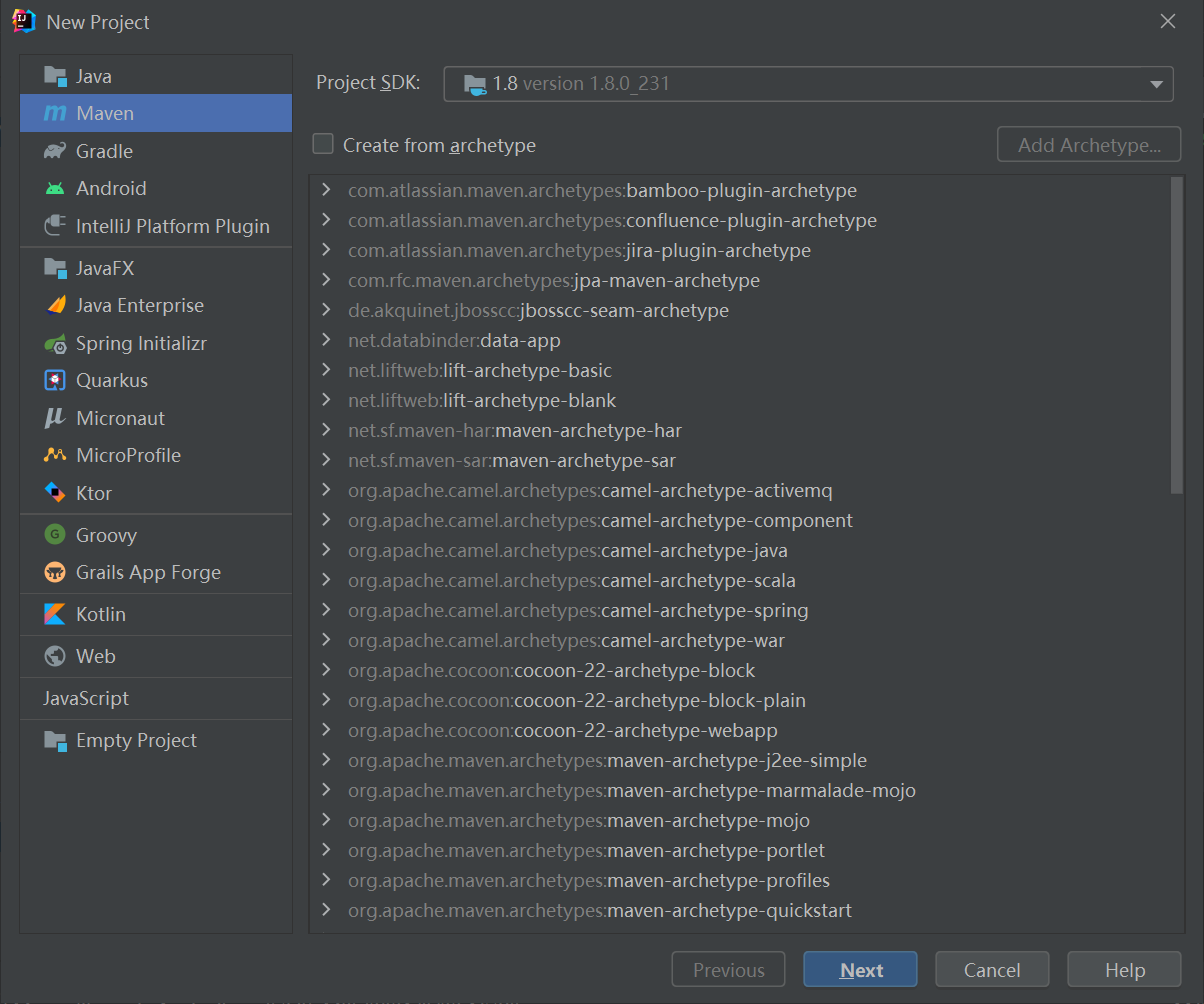
创建 Eureka Server
添加模块
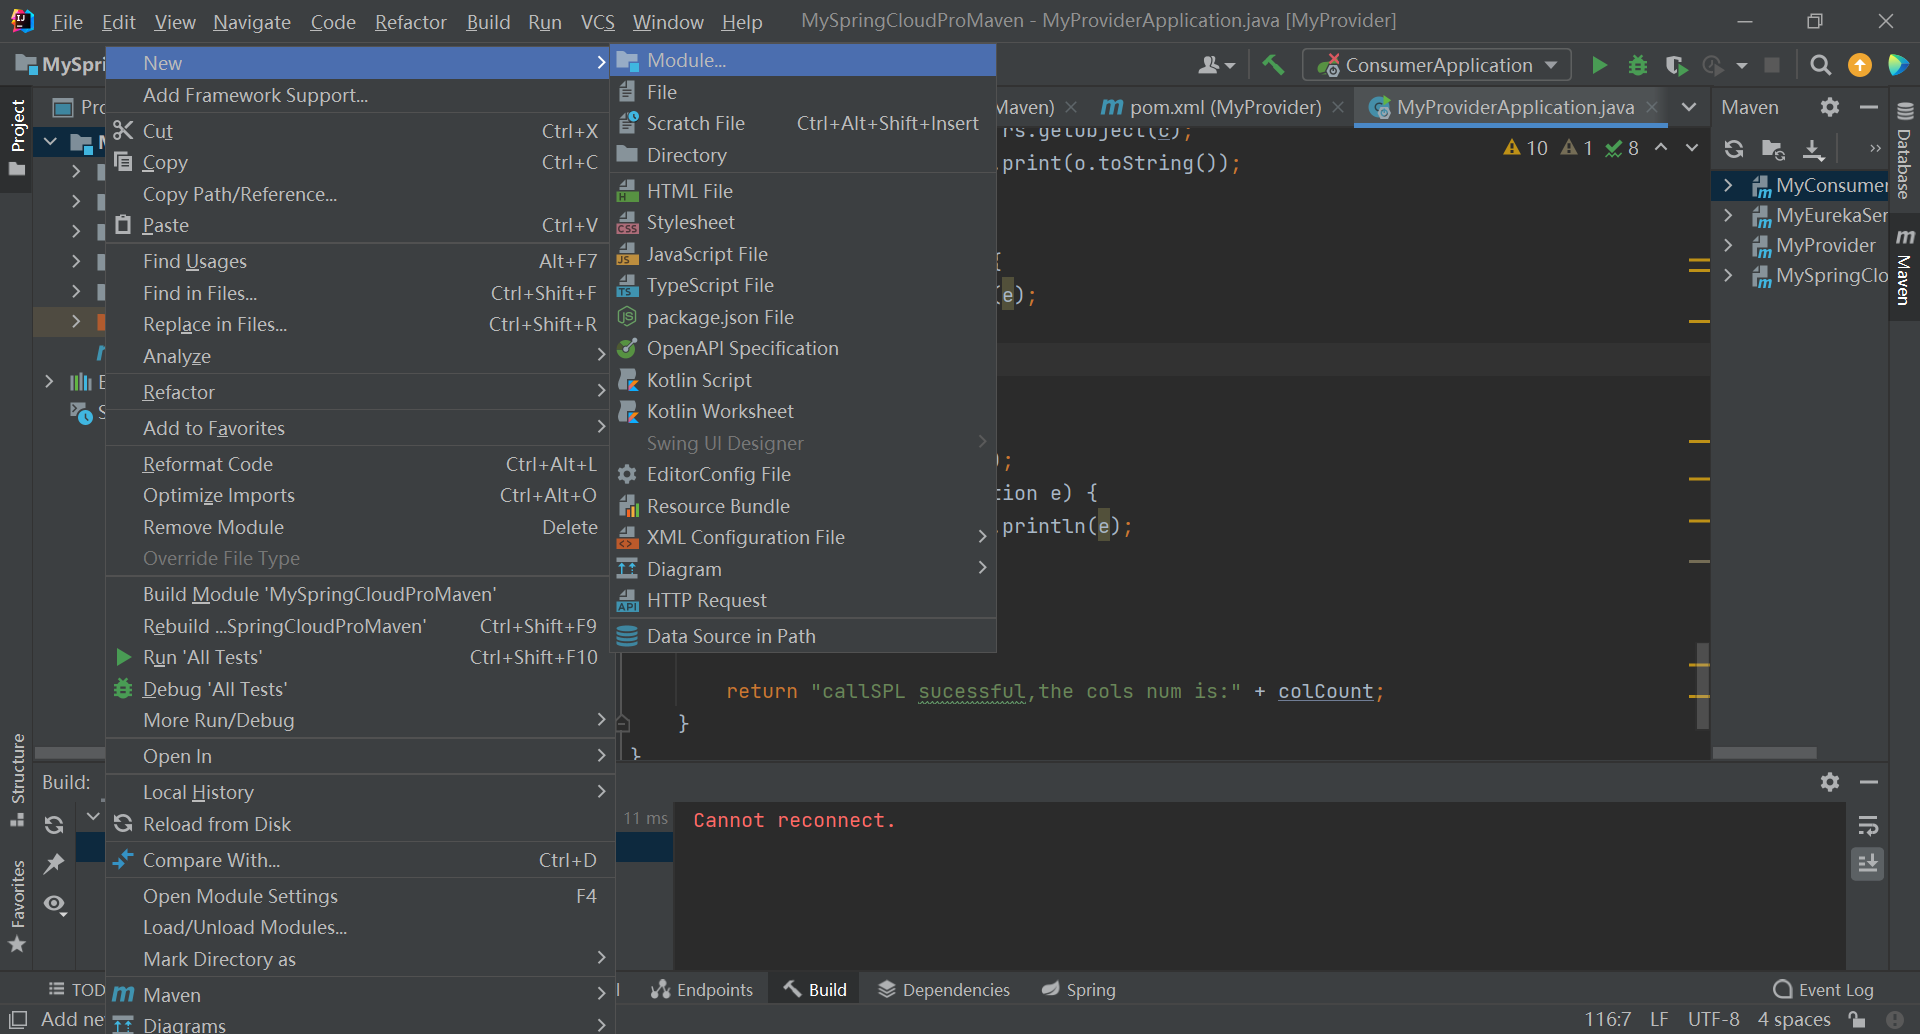
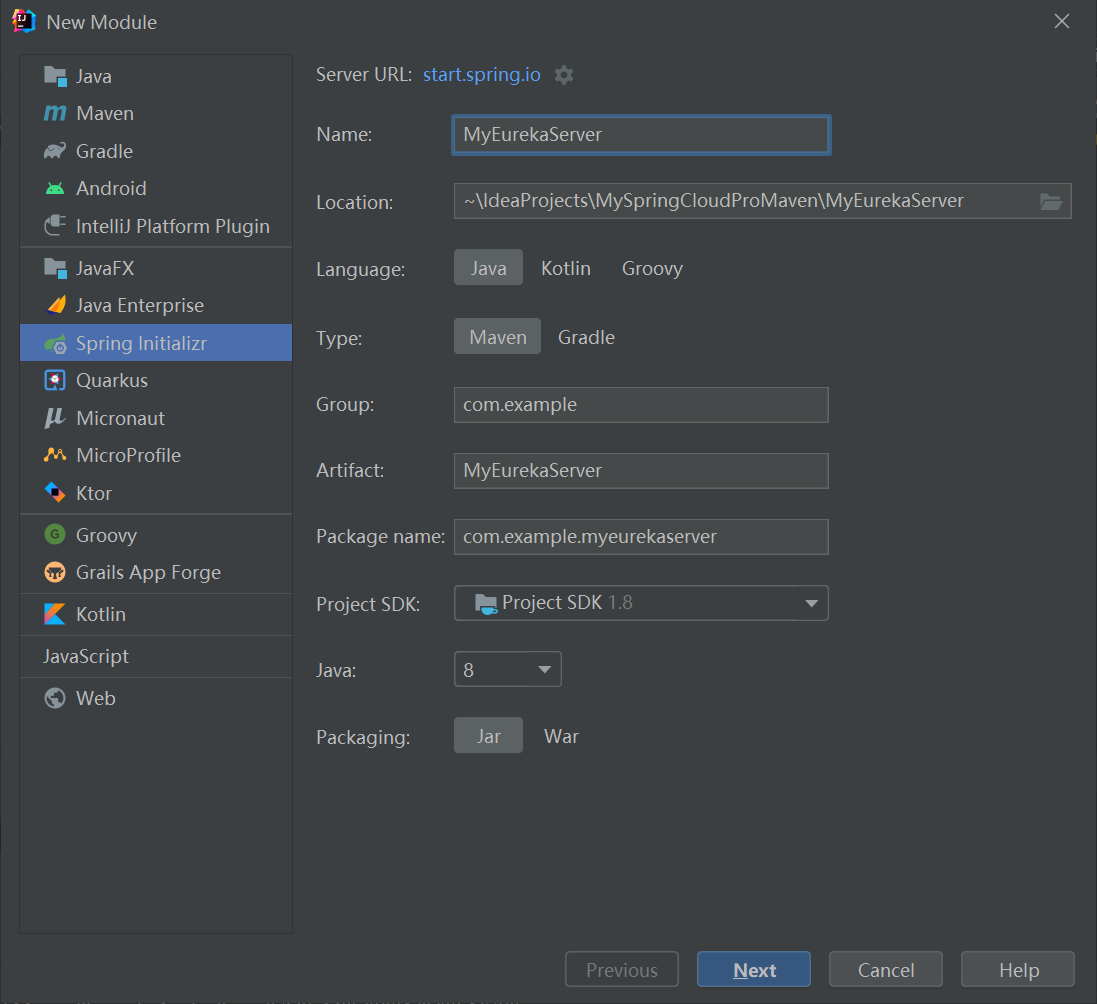
选择 Spring Initiaizr,Java 版本要选择正确
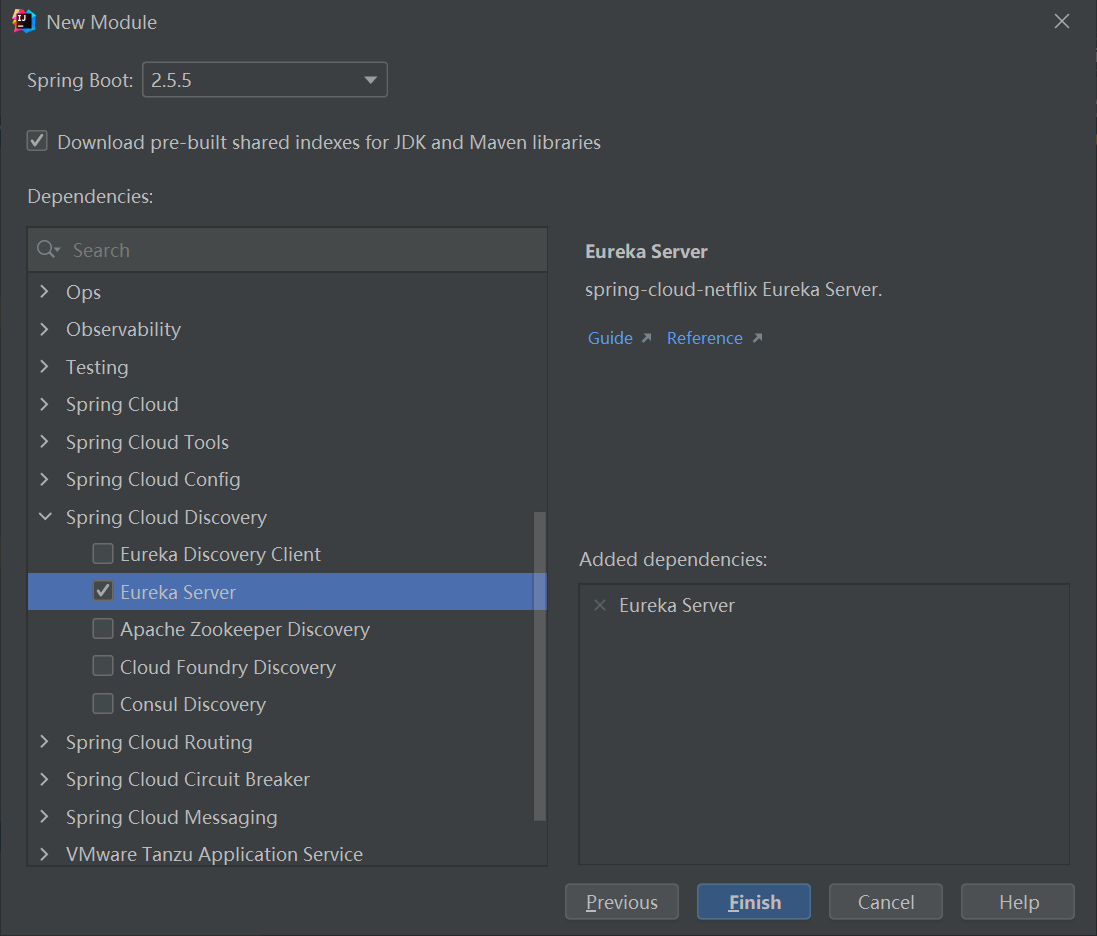
选择 Spring Cloud Discovery 下 Eureka Server,点击完成
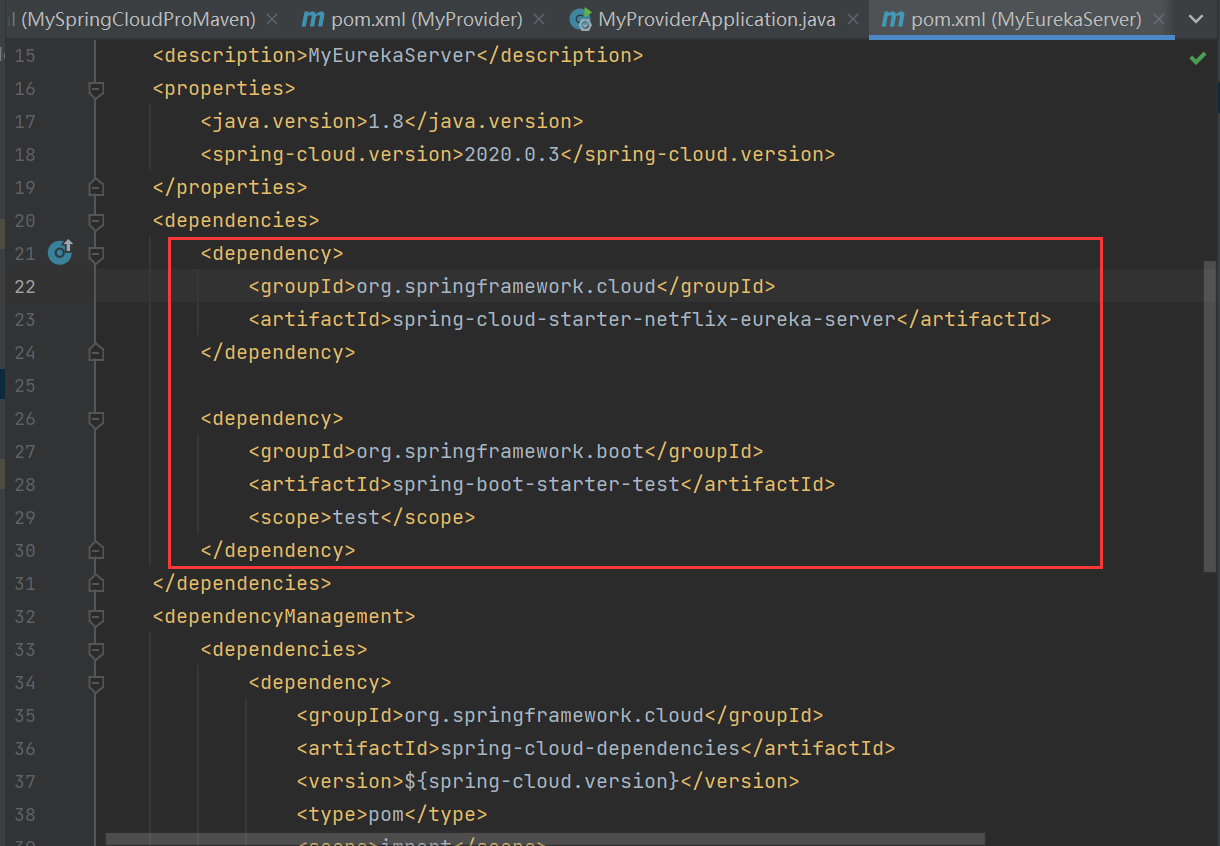
此时 pom 中会出现如下依赖
增加配置
添加注册中心配置,修改 resources 目录下 application.yml 文件(如果 resources 下是 application. Properties,将其重命名为 yml 即可)。
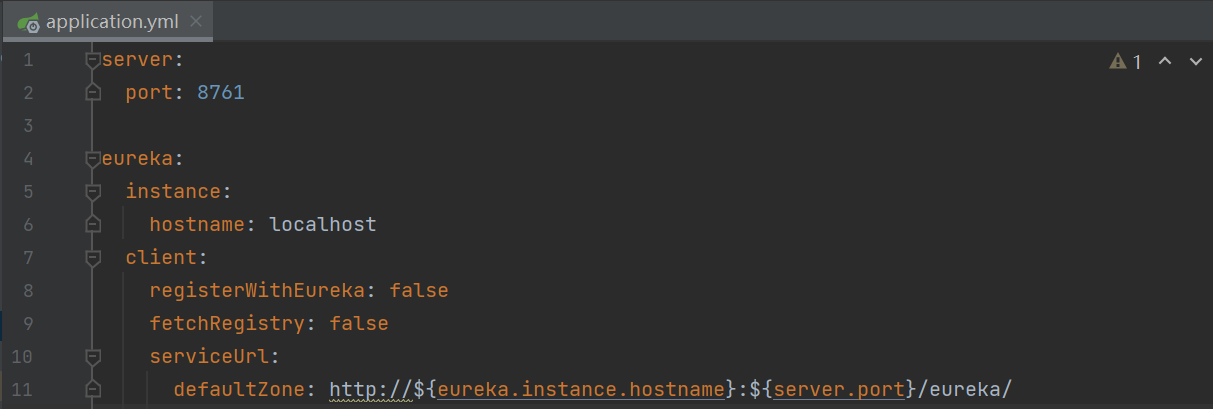
server:
  port: 8761

eureka:
  instance:
    hostname: localhost
  client:
    registerWithEureka: false
    fetchRegistry: false
    serviceUrl:
      defaultZone: http://${eureka.instance.hostname}:${server.port}/eureka/
添加注解
在主程序 Application 中添加 @EnableEurekaServer,声明此处为服务的注册中心。

启动项目(run Application.java),浏览器访问:http://localhost:8761/
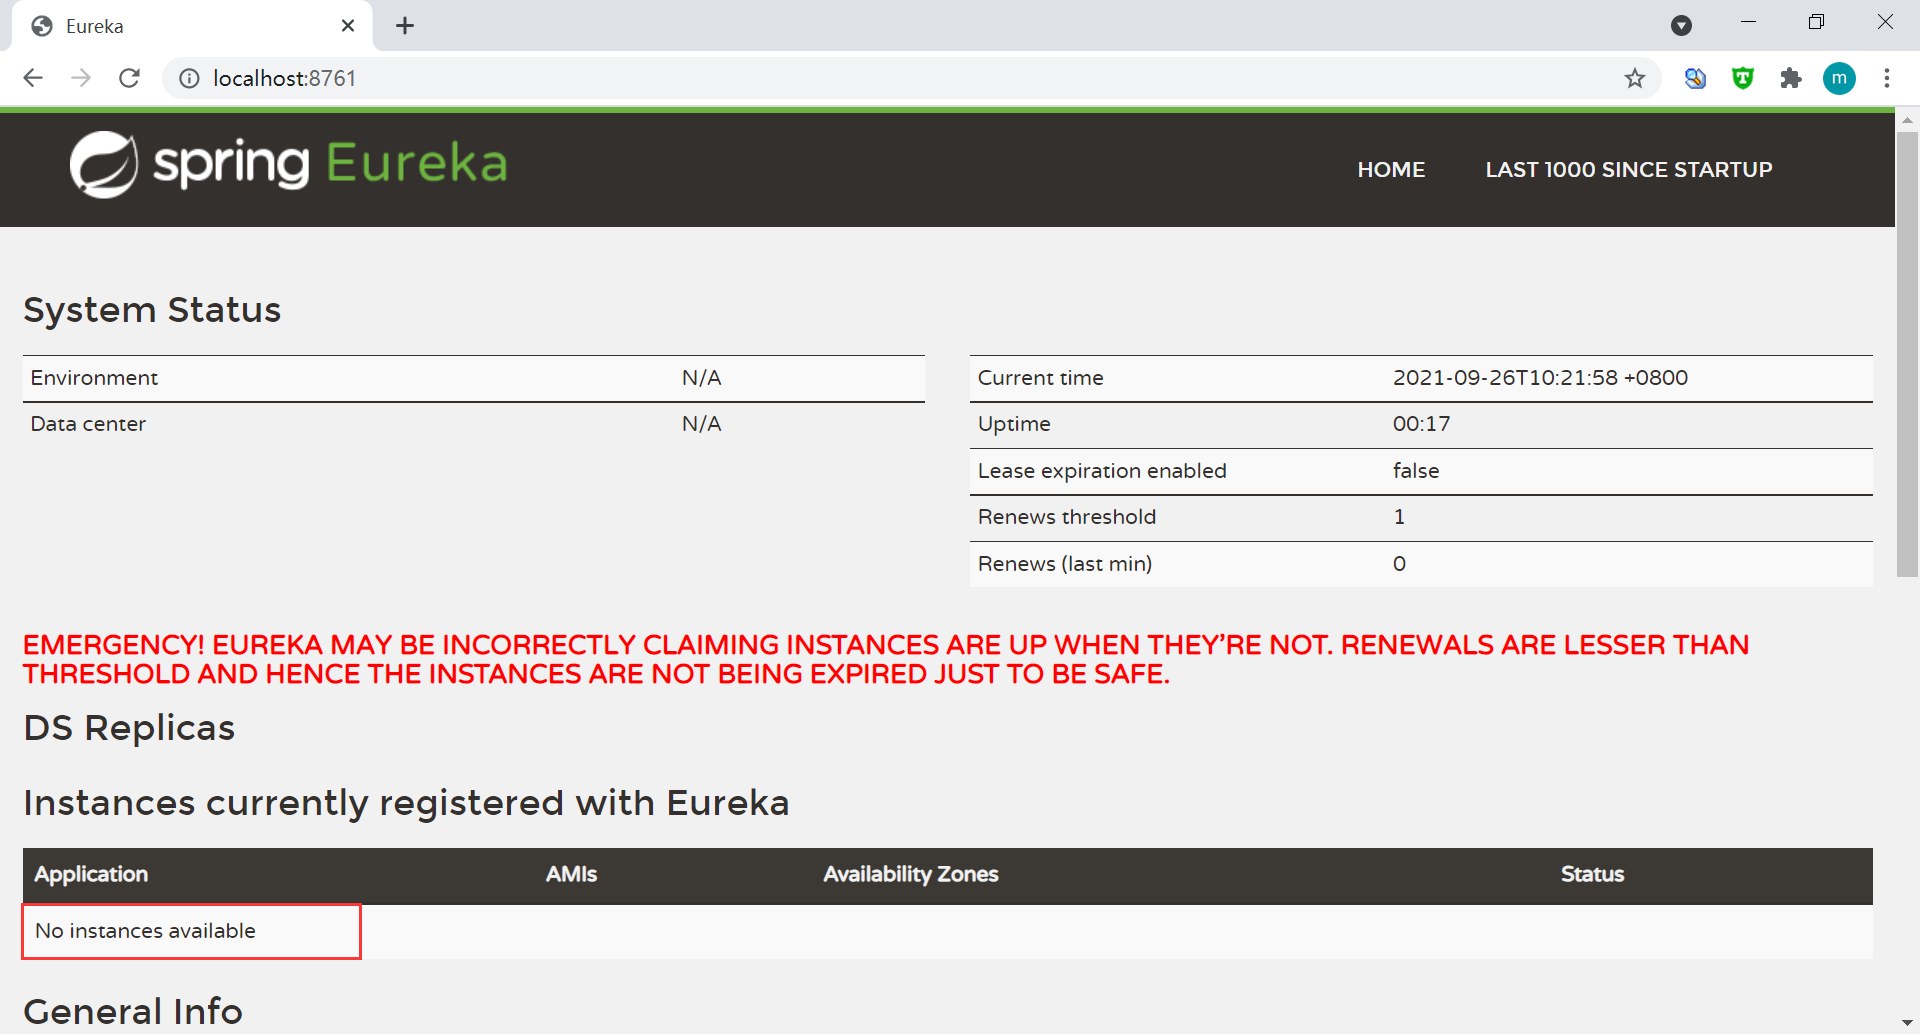
此时还没有任何服务被注册到注册中心。
创建服务提供者
创建服务提供者的步骤与注册中心前面的步骤完全一致,新建模块,选择 Eureka Server,此处不再赘述。
修改 yml 配置:

server:
  port: 8762
eureka:
  instance:
    hostname: localhost
  client:
    serviceUrl:
      defaultZone: http://localhost:8761/eureka/ #注册中心的网址
spring:
  application:
name: MyProvider
在 Application 中添加注解 @EnableEurekaClient,表明自己属于一个服务提供者。

添加测试用例:
@RestController
@RequestMapping("/hello")
public String hello(String message) {
    return "Hello! I am Provider.I got your message:" + message;
}
在浏览器中访问:http://localhost:8762/hello?message=hi,provider
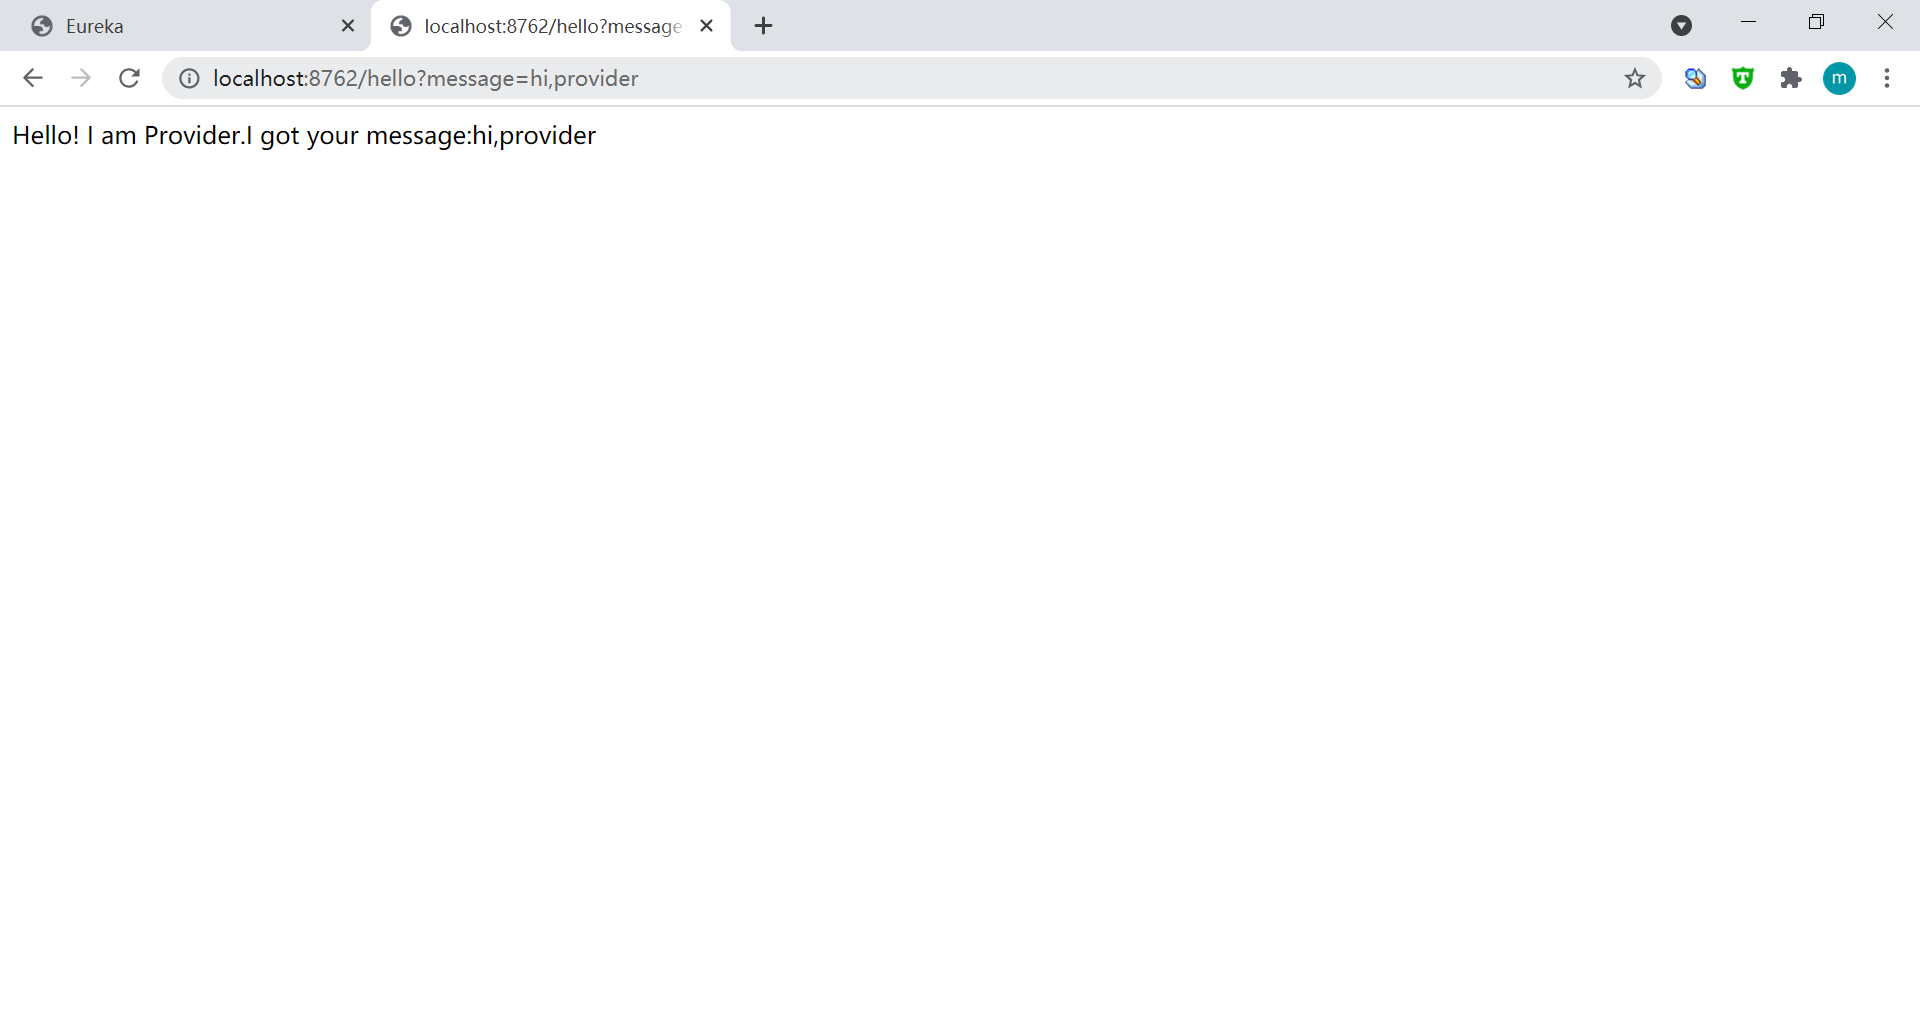
返回注册中心,可以看到服务提供者(myprovider)已经注册进来了。
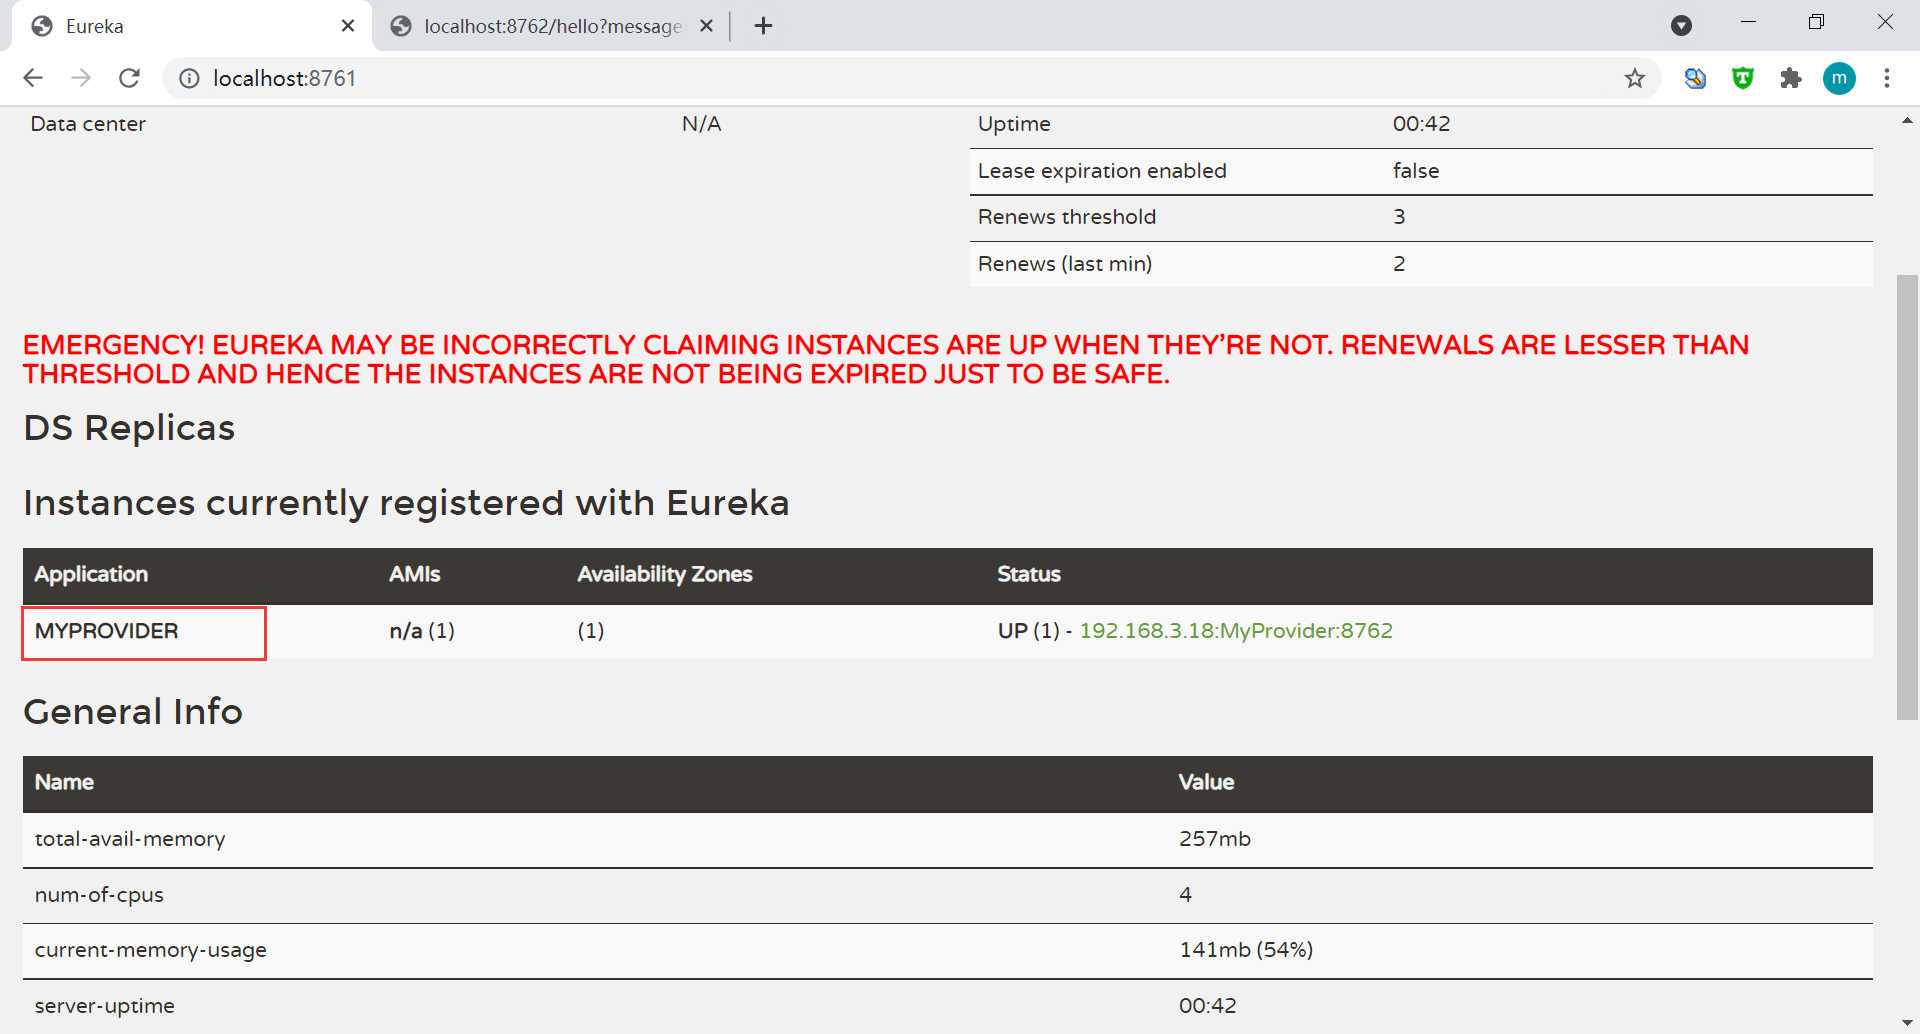
接下来将在服务提供者模块集成 SPL 用于提供计算服务。
集成 SPL
准备驱动 jar
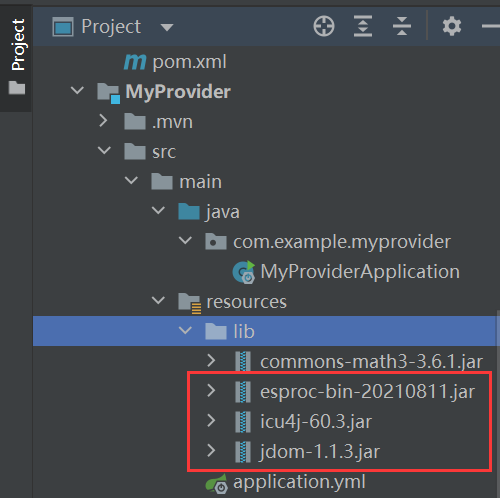
SPL 提供了标准 JDBC 驱动供应用程序集成调用,需要用到三个基础 jar 包都可以在 [安装目录]\esProc\lib 目录下找到。
esproc-bin-xxxx.jar  //集算器计算引擎及JDBC驱动包,注意:社区版时使用esproc-xxxx.jar
icu4j-60.3.jar  //处理国际化
jdom-1.1.3.jar  //解析配置文件
将以上 3 个 jar 包拷贝到服务提供者 main-resources-lib 下(没有 lib 目录则新建)。
部署 raqsoftConfig.xml
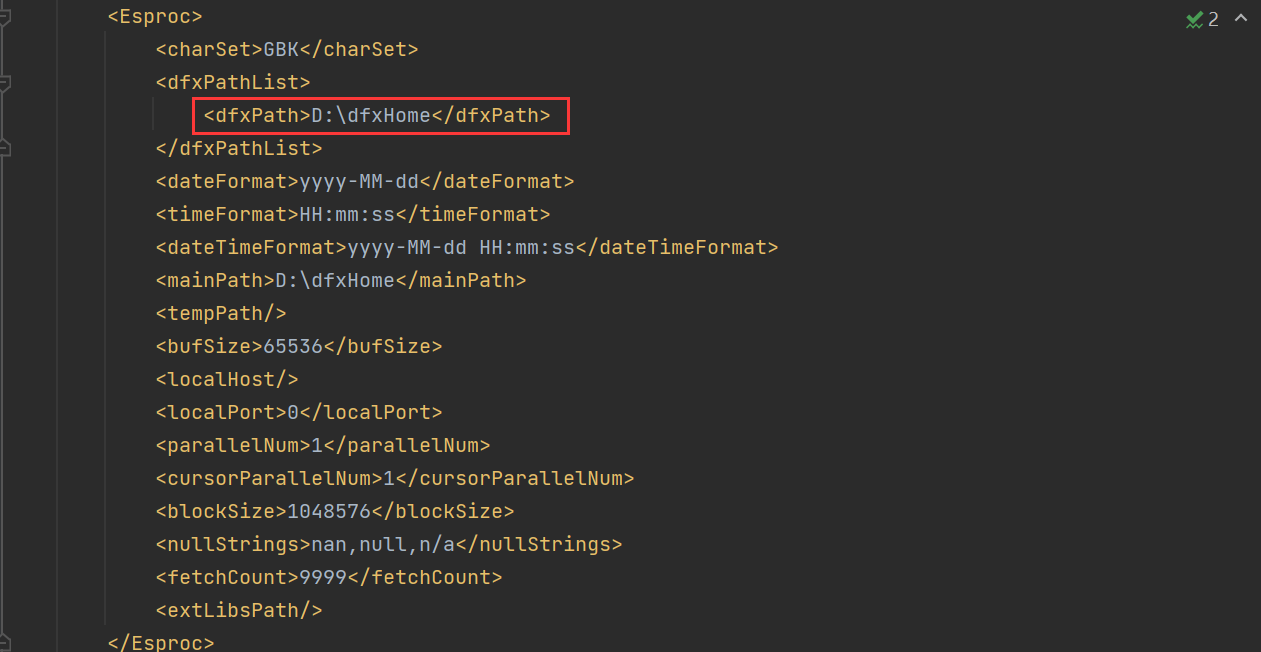
raqsoftConfig.xml 是 SPL 的主要配置文件,主目录、SPL 脚本寻址路径等信息都在该文件中配置。将其拷贝到应用的类路径下即可。
添加依赖
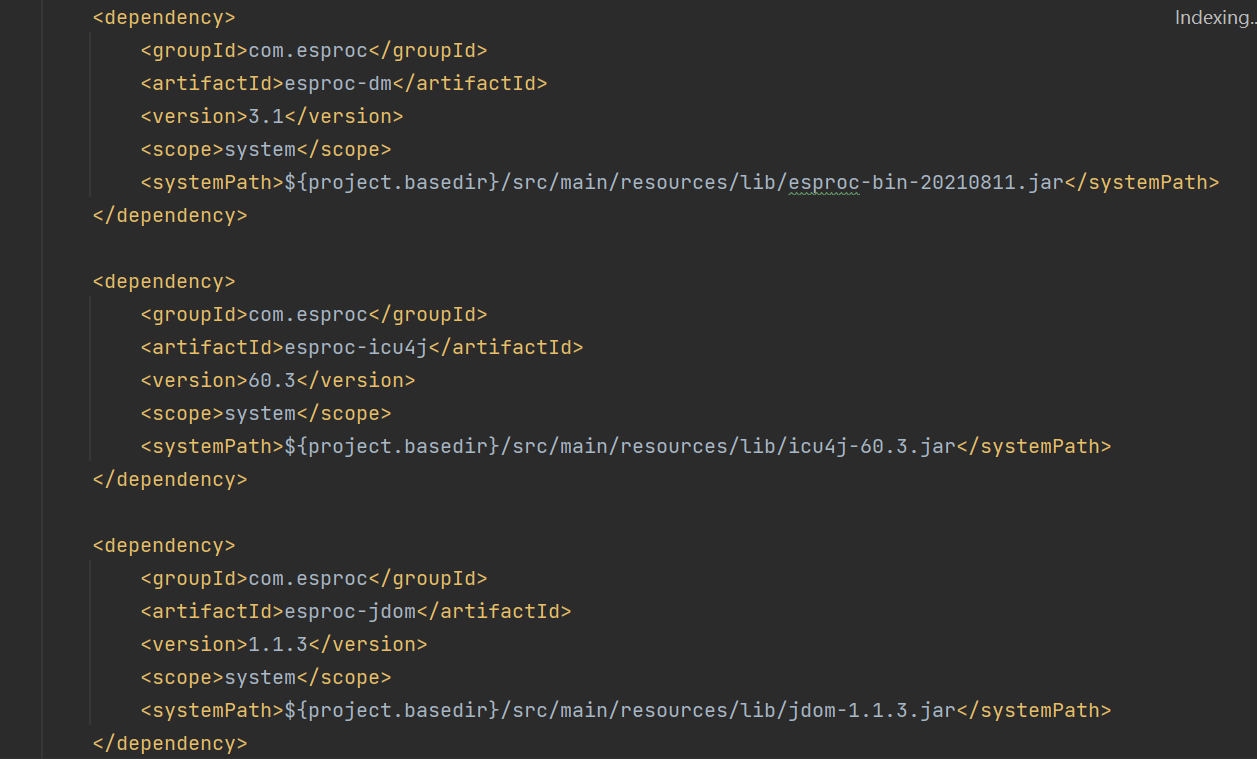
在 pom 中添加本地 jar 包依赖
<dependency>
            <groupId>com.esproc</groupId>
            <artifactId>esproc-dm</artifactId>
            <version>3.1</version>
            <scope>system</scope>
            <systemPath>${project.basedir}/src/main/resources/lib/esproc-bin-20210811.jar</systemPath>
        </dependency>

        <dependency>
            <groupId>com.esproc</groupId>
            <artifactId>esproc-icu4j</artifactId>
            <version>60.3</version>
            <scope>system</scope>
            <systemPath>${project.basedir}/src/main/resources/lib/icu4j-60.3.jar</systemPath>
        </dependency>

        <dependency>
            <groupId>com.esproc</groupId>
            <artifactId>esproc-jdom</artifactId>
            <version>1.1.3</version>
            <scope>system</scope>
            <systemPath>${project.basedir}/src/main/resources/lib/jdom-1.1.3.jar</systemPath>
</dependency>
编写用例
通过以上步骤 SPL 就已经集成好了,接下来编写 SPL 计算用例。
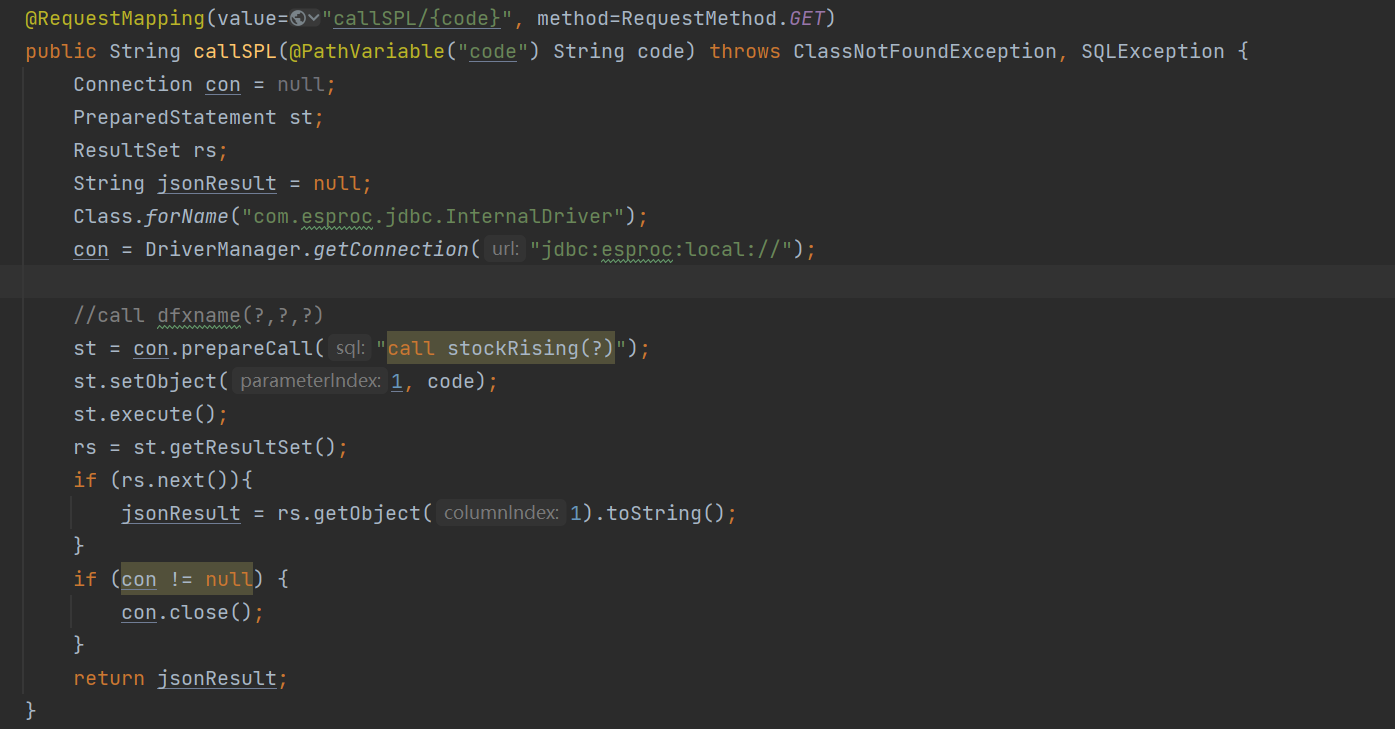
    @RequestMapping(value="callSPL/{code}", method=RequestMethod.GET)
    public String callSPL(@PathVariable("code") String code) throws ClassNotFoundException, SQLException {
        Connection con = null;
        PreparedStatement st;
        ResultSet rs;
        String jsonResult = null;
        Class.forName("com.esproc.jdbc.InternalDriver");
        con = DriverManager.getConnection("jdbc:esproc:local://");
        System.out.println("code:"+code);
        //call dfxname(?,?,?)
        st = con.prepareCall("call stockRising(?)");
        st.setObject(1, code);
        st.execute();
        rs = st.getResultSet();
        if (rs.next()){
            jsonResult = rs.getObject(1).toString();
        }

        if (con != null) {
            con.close();
        }
        return jsonResult;
    }
这里调用的 stockRising 是 SPL 脚本文件名(stockRising.dfx),脚本在计算某只股票连续上涨的天数(股价相等记为上涨)。stockRising.dfx 内容如下,其中脚本参数为 s_code
A |
||
1 |
=T("StockRecords.txt").select(code==int(s_code)) |
|
2 |
=A1.sort(ddate) |
|
3 |
=A2.group@i(price<price[-1]).new(code,~.len():risedays) |
计算该股票的连续上涨天数 |
4 |
return json(A3) |
结果以json串输出 |
SPL 脚本是解释执行的,支持热切换,修改后实时生效。
启动项目,在浏览器中访问:http://localhost:8762/callSPL/110330

可以看到 SPL 执行结果(股票代码 110330 的连续上涨情况)的详细信息,至此服务提供者已经可以对外提供 SPL 计算服务。
使用数据源
除了读取文件数据,在 SPL 计算服务中还可以连接数据源完成数据计算。
JDBC 数据源
添加数据库相关配置
这里以连接 MySQL 为例。在 pom 中添加 mysql 驱动相关依赖。

<dependency>
            <groupId>mysql</groupId>
            <artifactId>mysql-connector-java</artifactId>
            <version>5.1.44</version>
</dependency>
在 raqsoftConfig.xml 中添加数据源连接,在 DBList 节点下增加如下配置:
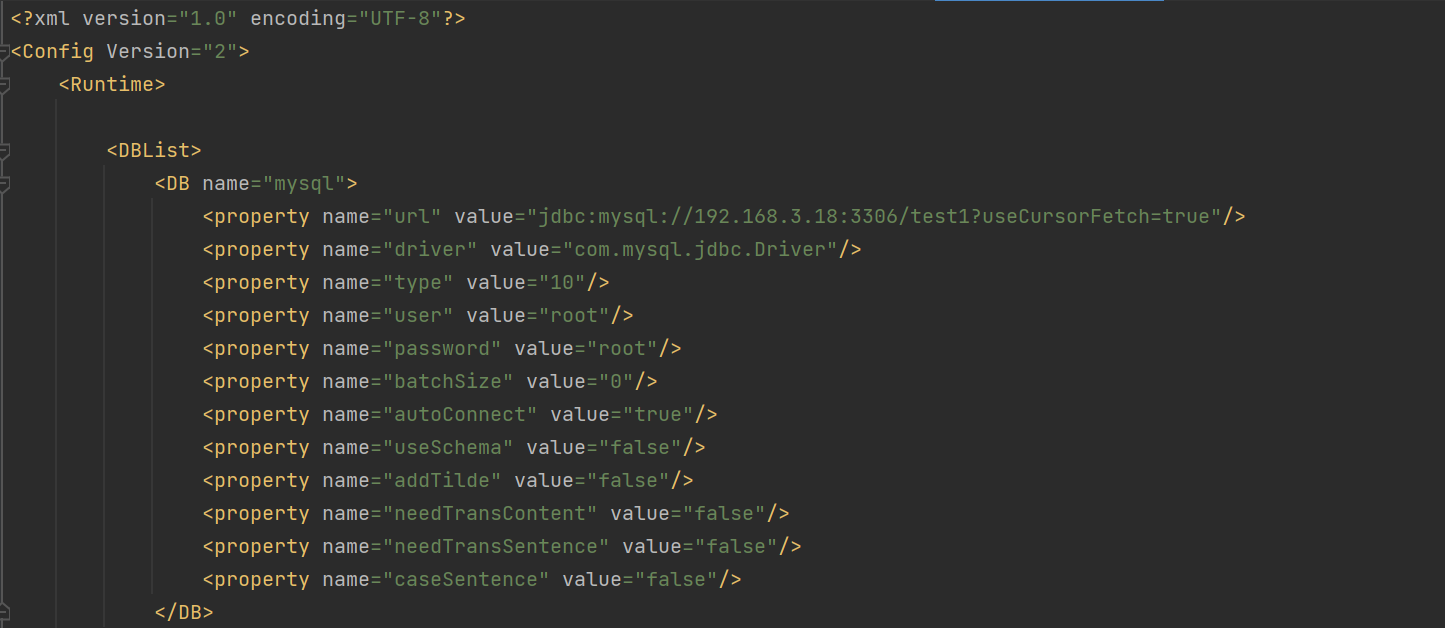
<DBList>
            <DB name="mysql">
                <property name="url" value="jdbc:mysql://192.168.3.18:3306/test1?useCursorFetch=true"/>
                <property name="driver" value="com.mysql.jdbc.Driver"/>
                <property name="type" value="10"/>
                <property name="user" value="root"/>
                <property name="password" value="root"/>
                <property name="batchSize" value="0"/>
                <property name="autoConnect" value="true"/>
                <property name="useSchema" value="false"/>
                <property name="addTilde" value="false"/>
                <property name="needTransContent" value="false"/>
                <property name="needTransSentence" value="false"/>
                <property name="caseSentence" value="false"/>
            </DB>
</DBList>
服务提供者代码:
@RequestMapping("/callSPL2")
    public String callSPL(String dfxName) throws ClassNotFoundException, SQLException {
        Connection con = null;
        PreparedStatement st;
        ResultSet rs;
        String jsonResult = null;

        Class.forName("com.esproc.jdbc.InternalDriver");
        con = DriverManager.getConnection("jdbc:esproc:local://");
        st = con.prepareCall("call "+dfxName+"()");	//将dfx名字作为参数
        st.execute();
        rs = st.getResultSet();

        if (rs.next()){
            jsonResult = rs.getObject(1).toString();
        }

        if (con != null) {
            con.close();
        }
        return jsonResult;
    }
编写 SPL 脚本(studentsOrder.dfx),用来计算学生成绩排名。
A |
B |
C |
|
1 |
=mysql.query("select ID,SchoolID,ClassName,Score from s_sestudent order by ID").derive(ClassOrder,SchoolOrder,UnionOrder) |
||
2 |
>A1.run(UnionOrder=A1.rank@z(~.Score,Score)) |
||
3 |
for A1.group(SchoolID) |
>A3.run(SchoolOrder=A3.rank@z(~.Score,Score)) |
|
4 |
for A3.group(ClassName) |
>B4.run(ClassOrder=B4.rank@z(~.Score,Score)) |
|
5 |
return json(A1) |
A5 返回 json 格式的结果:

浏览器访问:http://localhost:8762/callSPL2/studentsOrder,调用成功。

非 JDBC 数据源
除了 JDBC 数据源,SPL 还提供了若干非 JDBC 数据源访问接口,这里以使用 MongoDB 为例来说明使用过程。SPL 的非 JDBC 接口大多以外部库方式提供,配置过程与 JDBC 数据源略有不同。
准备外部库相关 jar
可以从:处下载。其中 MongoDB 主要涉及如下几个 jar 包。
Bson-4.3.0-SNAPSHOT.jar
mongodb-driver-core-4.3.0-SNAPSHOT.jar
mongodb-driver-legacy-4.3.0-SNAPSHOT.jar
mongodb-driver-sync-4.3.0-SNAPSHOT.jar
raq-mongo-cli-4.3.0.jar
将其拷贝到指定目录(可以不在项目中),如:D:\software\raqsoft20210630\esProc\extlib\MongoCli。
配置 raqsoftConfig.xml
在 Esproc 节点下增加外部库配置
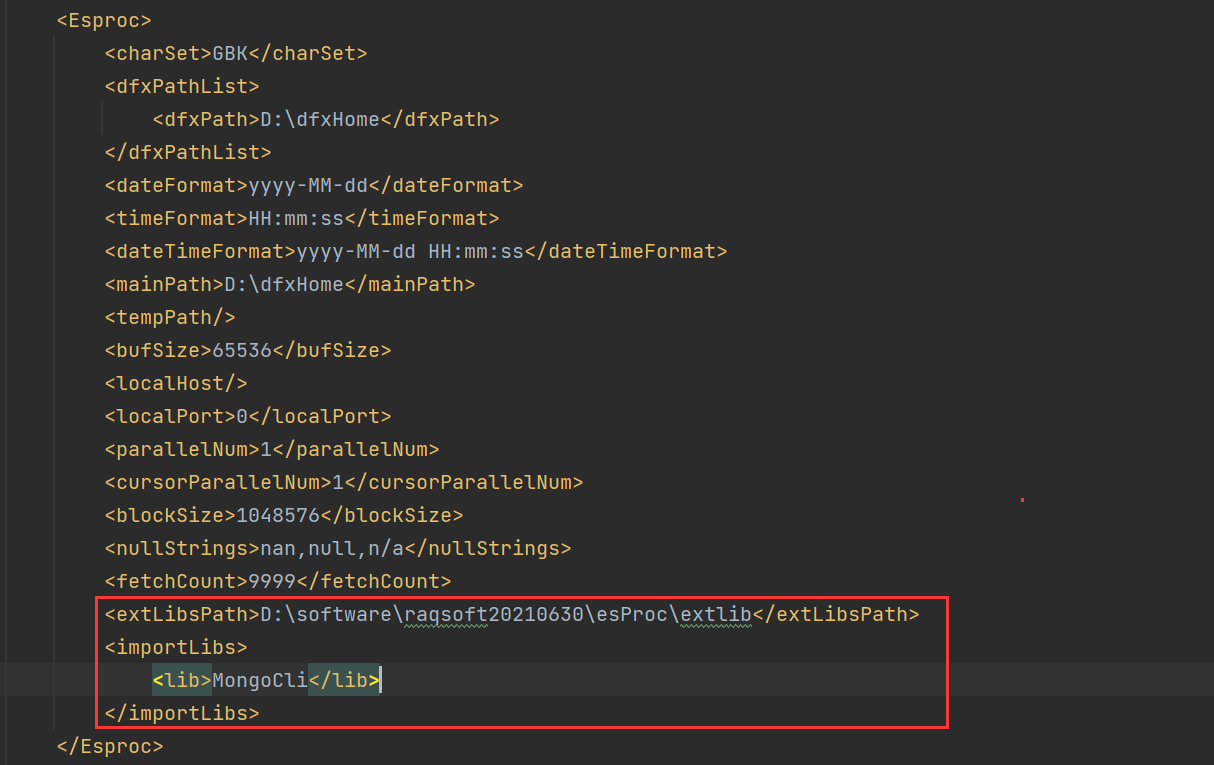
<extLibsPath>D:\software\raqsoft20210630\esProc\extlib</extLibsPath>
			<importLibs>
				<lib>MongoCli</lib>
			</importLibs>
准备 SPL 脚本
A |
||
1 |
=mongo_open("mongodb://127.0.0.1:27017/test") |
连接 MongoDB |
2 |
=mongo_shell(A1,"col1.find()").fetch() |
查询集合数据 |
3 |
>mongo_close(A1) |
关闭连接 |
4 |
return json(A2) |
SPL 查询结果:

在浏览器中访问http://localhost:8762/callSPL2/mongo,调用成功。

SPL 封装
更进一步,可以将调用 SPL 封装成通用的方法,这样服务调用时可以一直使用这个方法获取 SPL 计算结果,只需要准备 SPL 脚本(DFX),而 SPL 支持热切换,这样就可以完全实现服务热部署。
通用方法
在服务提供者中增加一个通用方法,SPL 脚本名称和参数都通过服务消费者传递,通用方法如下:
   @RequestMapping(path="/callSPLCommonJson", method= RequestMethod.POST)
   public String callSPLCommonJson(@RequestParam String dfxName, @RequestParam String params) throws ClassNotFoundException, SQLException {
       System.out.println("dfxName->"+dfxName);
       System.out.println("params->"+params);
       Connection con = null;
       java.sql.PreparedStatement st;
       int colCount = 0;
       int i = 0;
       ResultSet rs;
       String param = "";
       String resultStr;
       LinkedHashMap<String, String> jsonMap = null;
       String jsonResult=null;

       Class.forName("com.esproc.jdbc.InternalDriver");
       con = DriverManager.getConnection("jdbc:esproc:local://");
       if(null==params || "".equals(params)){
           st = con.prepareCall("call " + dfxName + "()");
       }else{
           jsonMap= JSONObject.parseObject(params, new TypeReference<LinkedHashMap<String, String>>(){});
           for (Map.Entry<String, String> entry : jsonMap.entrySet()) {
               param += "?,";
           }
           if (param != null && !"".equals(param)) {
               int len = param.length();
               param = param.substring(0, len - 1);
           }
           //call dfxname(?,?,?)
           st = con.prepareCall("call " + dfxName + "(" + param + ")");

           for (Map.Entry<String, String> entry : jsonMap.entrySet()) {
               i++;
               st.setObject(i, entry.getValue());
           }
       }
       st.execute();
       rs = st.getResultSet();
       if (rs.next()){
           jsonResult = rs.getObject(1).toString();
       }
       if (con != null) {
           con.close();
       }
       return jsonResult;
   }
这里使用 POST 方式提交传递参数(method= RequestMethod.POST),方法涉及两个参数:
@dfxName 为 SPL 脚本(.dfx)名称;
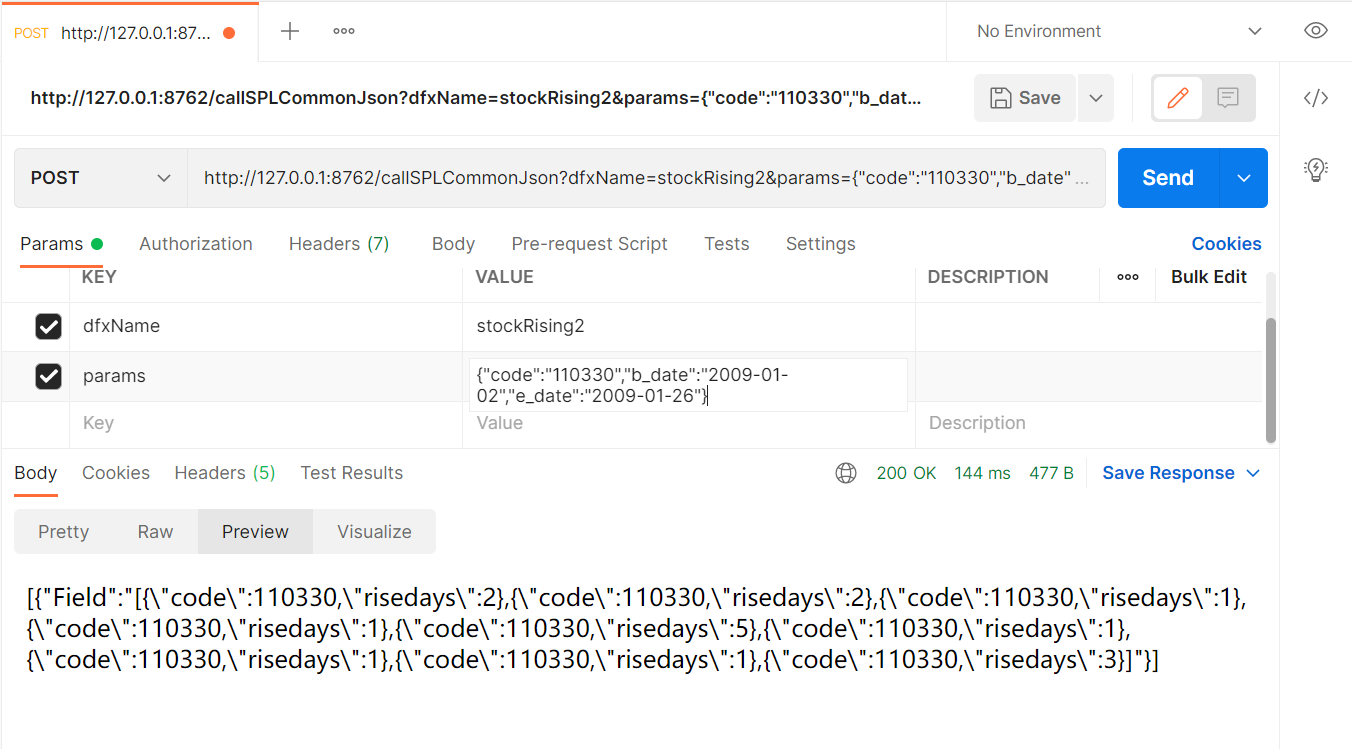
@params 为 SPL 脚本参数,需要组织成 JSON 格式,如:{"code":"110330","b_date":"2009-01-02","e_date":"2009-01-25"}。
准备 SPL 脚本(stockRising2.dfx)
用于计算某只股票在一段时间内的连涨情况。
A |
|
1 |
=T("StockRecords.txt").select(code==int(s_code) && ddate>=date(b_date) && ddate<= date(e_date)) |
2 |
=A1.sort(ddate) |
3 |
=A2.group@i(price<price[-1]).new(code,~.len():risedays) |
4 |
return json(A3) |
脚本涉及 3 个参数,分别是股票代码(s_code),查询开始日期(b_date),查询结束日期(e_date)

使用 Postman 测试提交 post 请求,结果如下:
调用 SPL 服务
上述 SPL 封装的计算服务采用标准 REST 接口,因此可以被任意开发语言调用。下面简单给出几个调用示例。
Java 调用
使用 Spring RestTemplate 调用 SPL 微服务:
MultiValueMap<String, Object> jsonMap = new LinkedMultiValueMap<String, Object>();
        jsonMap.add("dfxName","stockRising2");
        jsonMap.add("params","{\n    \"code\":\"110330\",\n    \"b_date\":\"2009-01-02\",\n    \"e_date\":\"2009-01-25\"\n   }");

        String result = restTemplate.postForObject("http://127.0.0.1:8762/callSPLCommonJson", jsonMap, String.class);
也可以通过其他诸如 HttpURLConnection、HttpClient 等方式完成。
Python 调用
使用 Python requests 调用 SPL 微服务:
key_dict = {
        "dfxName": "stockRising2",
        "params":
            "{"+
                    "\"code\":\"110330\","+
                    "\"b_date\":\"2009-01-02\","+
                    "\"e_date\":\"2009-01-26\""+
                    "}"
            }

response = requests.post("http://127.0.0.1:8762/callSPLCommonJson", params=key_dict, headers={'Content-Type': 'application/json'})
SPL 调用
使用 SPL 同样可以调用 SPL 微服务:
A |
|
1 |
stockRising2 |
2 |
{"code":"110330","b_date":"2009-01-02","e_date":"2009-01-26"} |
3 |
=httpfile("http://127.0.0.1:8762/callSPLCommonJson","dfxName="+A1+"¶ms="+urlencode(json(A2),"utf-8")).read() |


